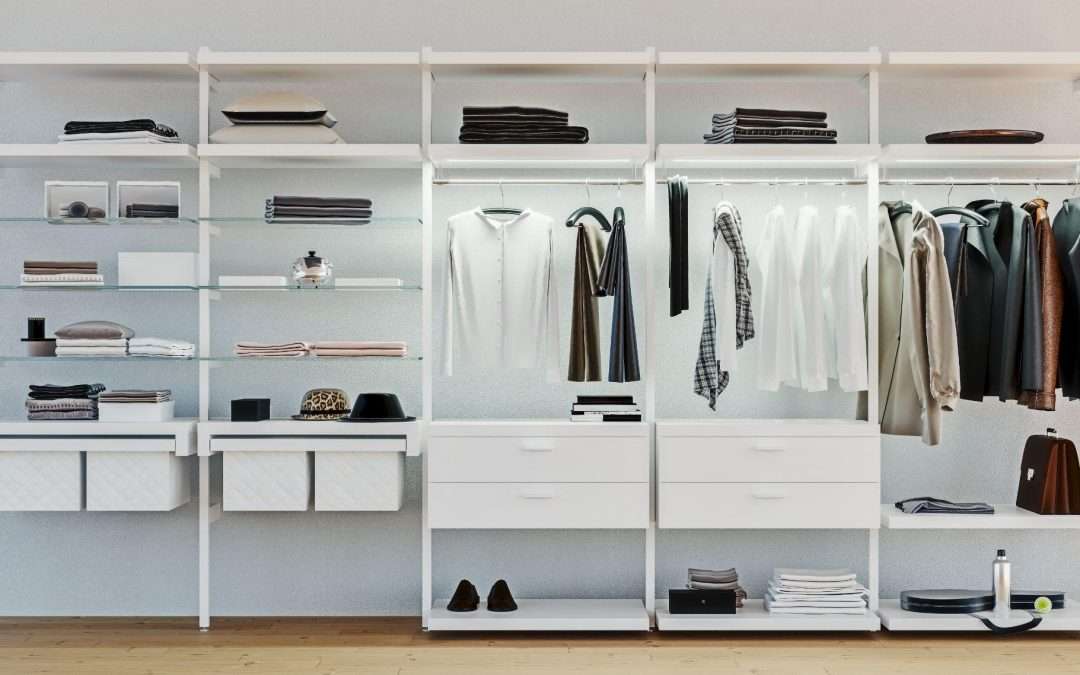
We’ve all been there. You’re desperately seeking the perfect outfit, with everything in your wardrobe spread out on the bed and floor, and nothing is working. It’s a common problem: with so many clothing options, it can be difficult to figure out what goes together and how to pair them up. But with these simple hacks, you’ll never have to worry about what to wear again!
This wardrobe hack is to create a built-in under-eaves wardrobe for the attic bedroom roof using modular cabinets.
It began when we decided that we wanted a built-in wardrobe under the raked ceiling in our attic. A raked ceiling creates odd spaces, but it also creates some interesting advantages over standard wardrobes.
To have an under-eaves wardrobe with no back on it such that we can slide the clothes to the side and crawl through into “Narnia” and store large items (suitcases, etc). We also wanted to have drawers without doors in front of them to maximise the usable storage space.
UNDER-EAVES WARDROBE USING KITCHEN CABINETS
UNDER-EAVES WARDROBE: BUILDING THE DRAWER UNITS
The first step was to build the two side units.
Each side unit was made of 2 cabinets – one h80 x w80 x d60cm, one h60 x w80 x d37
First, place the bottom cabinet on a small ply plinth (19mm high) to ensure that the bottom drawer did not scrape along the floor when it was opened.
The shallower top cabinet needed to be modified to fit under the raked ceiling. Use a template and a jigsaw to chop the side pieces of the shallower cabinet to size.
JIGSAW VS TABLESAW?
To chop down the cabinets, it is best to have a DIY buddy who can help hold the offcuts. In many cases, a heavyweight or kettlebell would suffice.
ATTACHING THE TOP CABINET
Next, attach the top cabinet to the bottom cabinet using small brackets (with the final primary structural support coming later when fixing the plywood side pieces for the hanging section together).
Each whole side unit was now ready to have the plastering added (see next section) and to be anchored to the floor with some heavy-duty hex screws (note that it is important that the units are very securely affixed in place so they cannot tip forward and squash small children!).
Once these unit frames are in their final, fixed position, the drawers can be added.
As there is not enough depth for a drawer at the very top of each unit, this section has just been covered with a blank plate which is simply a drawer front that is screwed to the unit frame with some brackets.
UNDER-EAVES WARDROBE: HANGING SPACE FRAMES
The standard cabinet range has 19mm thick walls. The local hardware store typically sells plywood that is 18mm thick, close enough.
The best bit of advice experts can give with this is to have your hardware store make all of the cuts for you if possible. They can do millimetre perfect straight long cuts very quickly and easily. It would have taken me ages to do all the cuts at home with my wobbly jigsaw.
The frame for the hanging space was then screwed to the side draw cabinets to create added structural strength for the drawer units.
THE HANGING RAIL
The hanging rail is well over-engineered in this design. A wardrobe which is overfull with clothes hanging can create a lot of weight. In addition to this, the hanging bar is quite long. To go around this, use 70mm x 35mm structural pine to create the supports which a metal hanging rail would fit into.
UNDER-EAVES WARDROBE: PLASTERING
The design allowed for a 3cm gap between the edge of the drawer cabinet/hanging frames and the wall. The plan was to fill the gap with gyprock (drywall) sheeting. If unsure about how to do this part, it is best to call up an expert.
Normally you would attach the gyprock to the wall and use aluminium corners to strengthen any exterior corners, and then fit the cabinets within this gyprocked space.
Once the gyprock was attached to the frames and put frames in situ, there might be some moderate gaps between the gyprock edges and the existing ceiling/walls (due to the ceiling/walls not being straight). Bridged these gaps with mesh gyprocking tape, and then plastered over the tape with pre-mixed plaster (a couple of coats with vigorous sanding between coats).
UNDER-EAVES WARDROBE: HANDLES
Finish up with your favourite handles!
For more wardrobe hacks and a simpler sliding wardrobe experience to maximise space, call Superglide Wardrobes for more information.


Recent Comments